How to share resources on the network using Samba
I've recently bought a new MacBook Pro which only has four Thunderbolt ports, so I needed to find a way to access files stored on my external hard drive. I decided to go with Samba and share my files over my local network.
Let's begin with hardware. I'm using one of my passively cooled computers that I have laying around. It's great for this purpose, because I can't hear it running at all. I've installed Ubuntu 19.04 on it and attached my external drive via USB cable. Now that we have the initial "setup" out of the way, let's begin setting everything up.
Mounting external drive
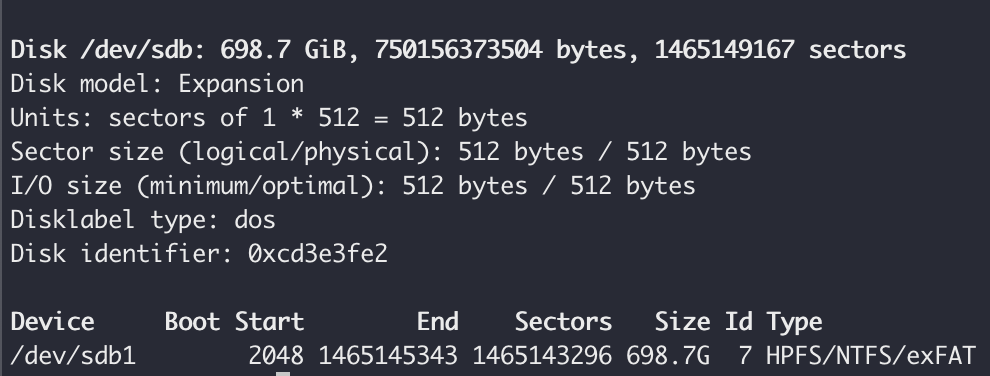
First thing I want to check is whether the drive is discovered by the system. To do that, I'll use fdisk to list all available storage drives.
sudo fdisk -l
In order to access this drive, it has to be mounted first. I'd like that to happen automatically whenever I attach the drive or boot the system. Before modifying fstab (Linux's filesystem configuration), I want to back it up first, in case something went wrong.
sudo cp /etc/fstab /etc/fstab.oldNow the mounting part! I'm gonna need the drive's partition ID and filesystem. This neat little comand displays the required information.
lsblk -o NAME,FSTYPE,UUID
Now I can add a new entry to the fstab. I'll try to explain what different options mean:
- UUID - drive's unique ID.
- /mnt/expansion - a path to where I want to mount my drive.
- ntfs - type of the filesystem.
- uid=,gid= - user and group that ownes files in the mounted drive.
- umask - controls access to directories (first byte) and files for users, groups and everyone (last 3 bytes). This is an inversion of normal file permissions, so 0000 means all permissions for everyone and 7777 means no permissions.
- async -operations can be asynchronous, improving performance.
- auto - mount automatically, e.g. on system startup.
- rw - mount as read-write.
UUID=9E1C26B71C268A7B /mnt/expansion ntfs uid=1000,gid=1000,umask=0022,sync,auto,rw 0 0Once saved, I've restarted the system and checked everything went as planned.
Setting up Samba
Samba is an implementation of Server Message Block protocol. It provides shared access to resources such as files, printers or others.
Installation is very simple, I did it by running sudo apt install samba. And to verify, I ran samba --version which gave me the following output Version 4.10.0-Ubuntu.
Configuration is easy and self explanatory. Here's mine. I've backed up the original config file if I ever wanted to look at it for examples or explanation for different settings.
$ cat smb.conf

# name of the share
[expansion]
# path to the directory we want to share
path = /mnt/expansion
# allow writes
writeable=yes
# all permissions for owner and group
create mask=0770
directory mask=0770
# there's some secret stuff on my drive, so I don't want every samba user to have access
public=no
Almos there! Now I need to add my user to Samba, like this.
sudo smbpasswd -a slackiAfter restarting the service sudo systemctl restart smbd I can access the share from my Mac. Command + K in Finder, btw.
That's it!
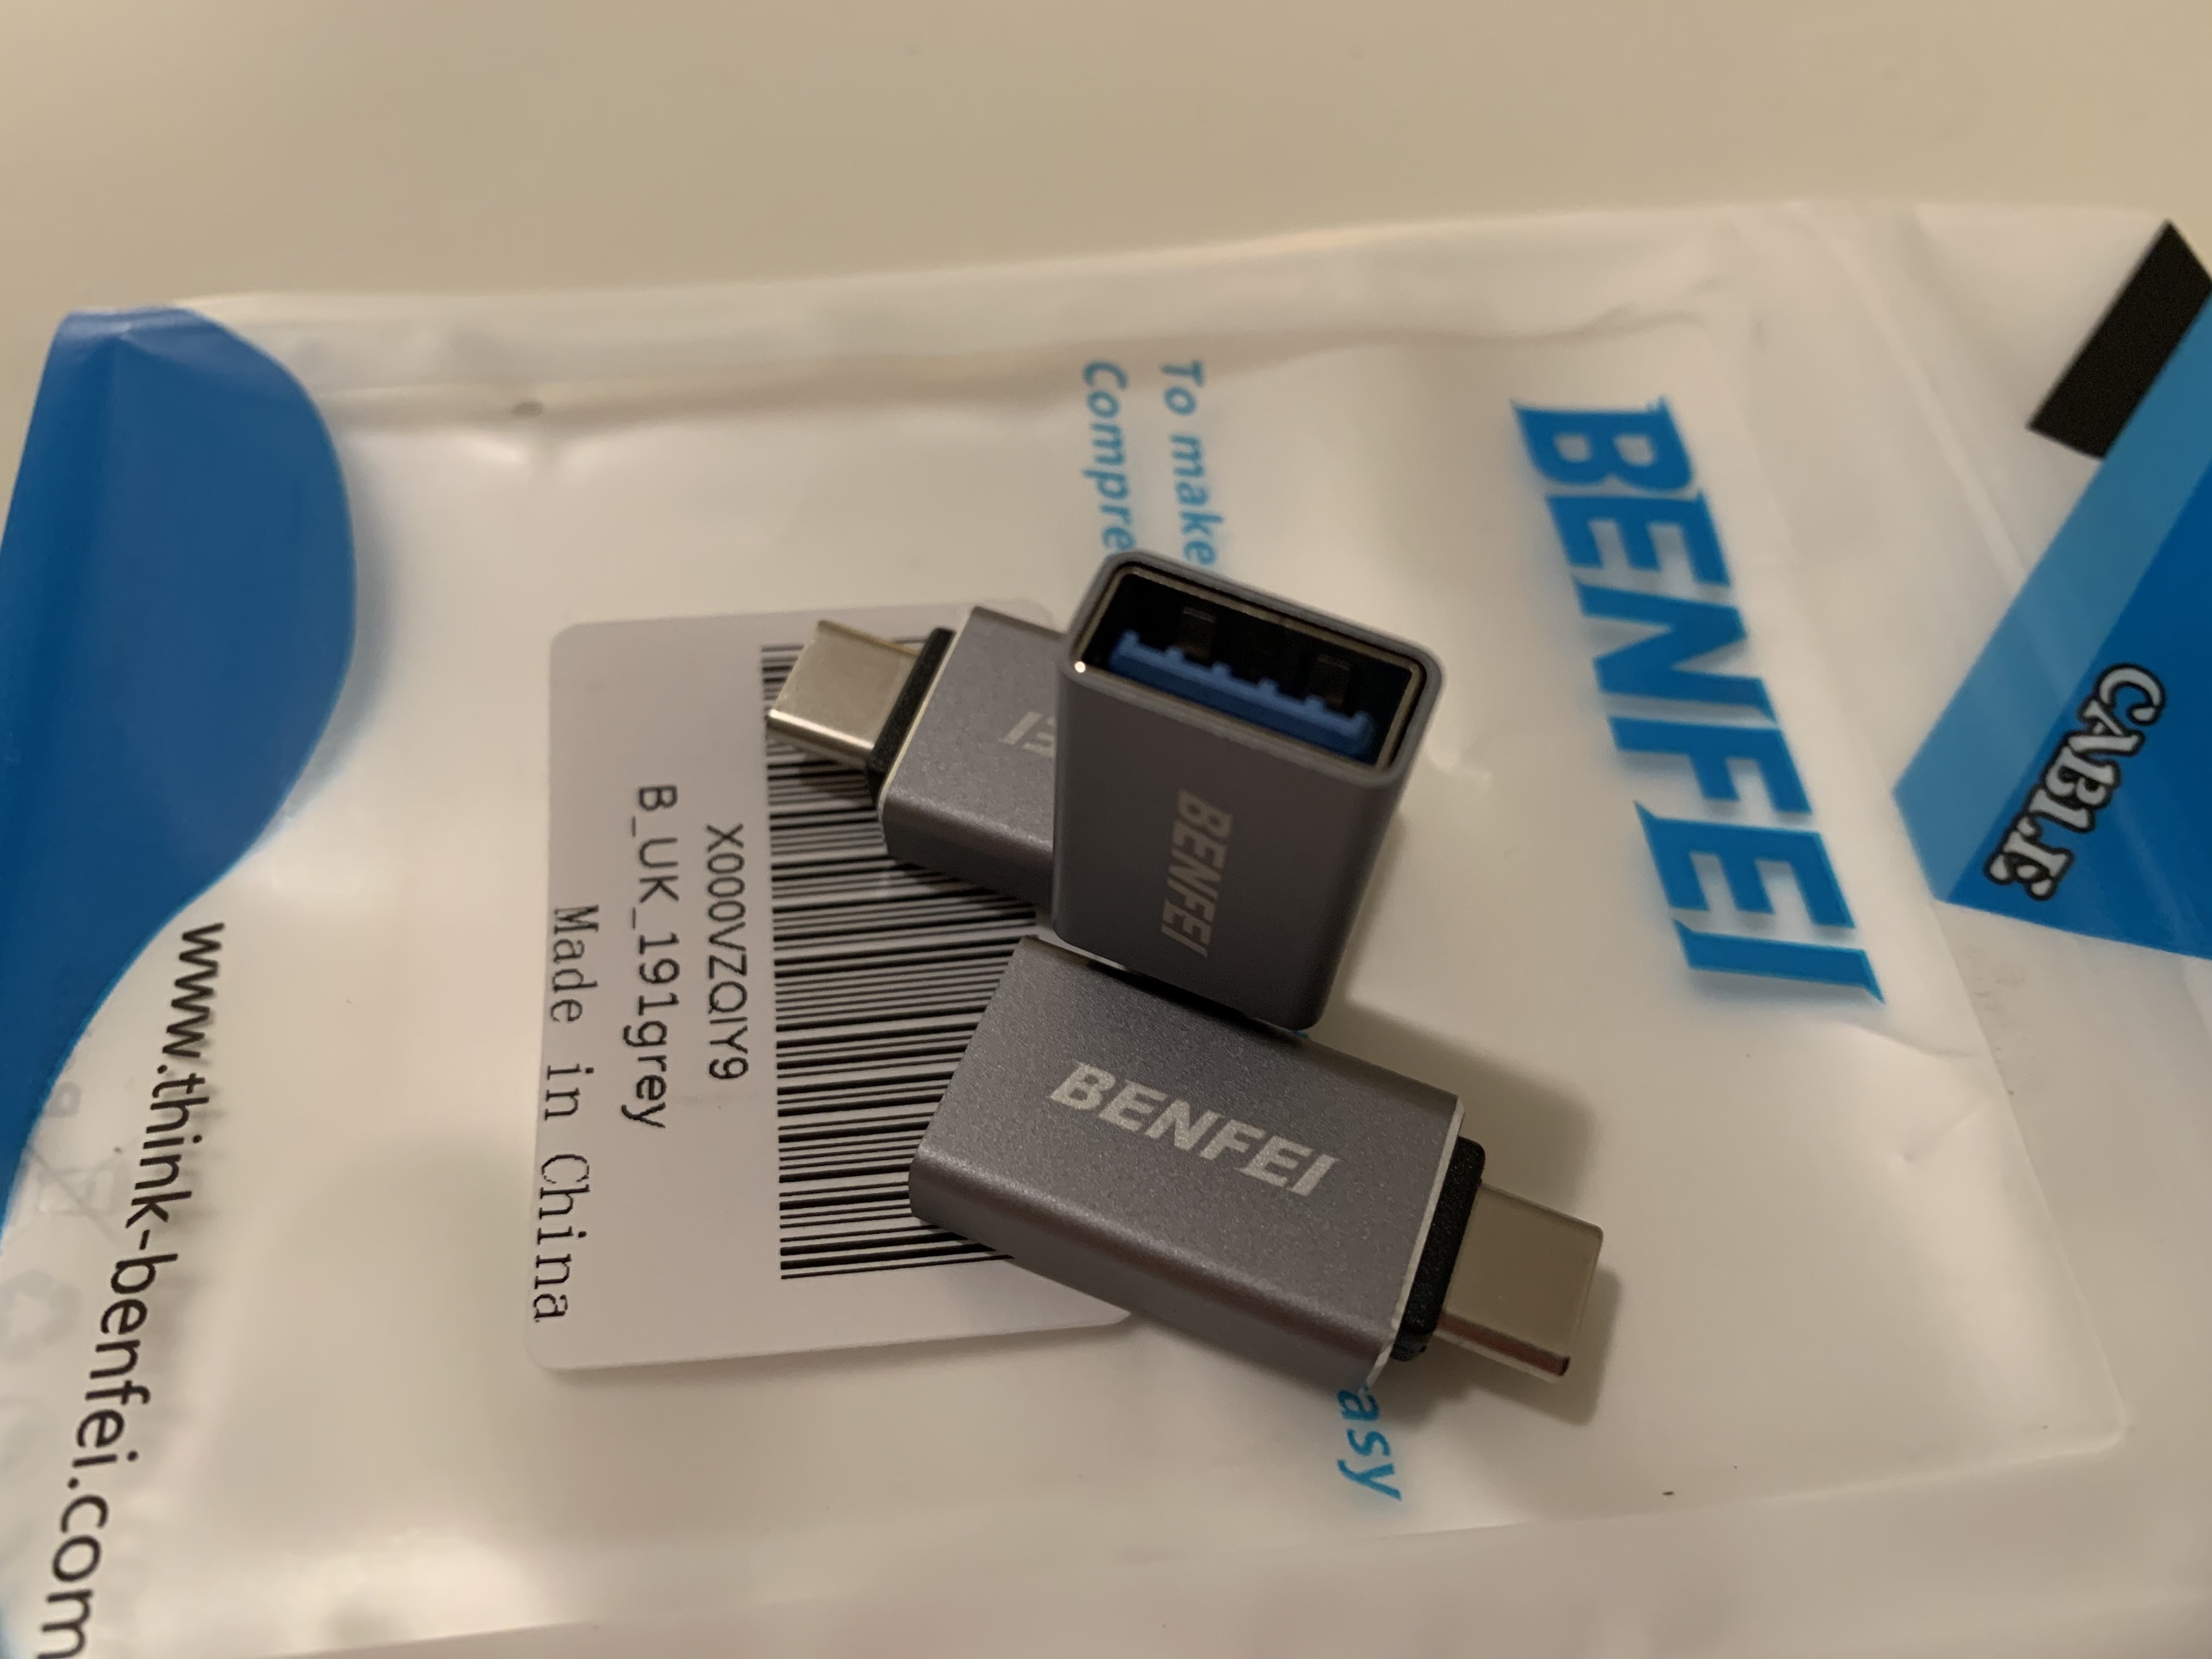
Now I can access my drive from the network. By the time I finished writing this post, these puppies arrived in the mail. I might just as well connect the drive directly. Oops